Custom Integrations with the Gradient.
Overview
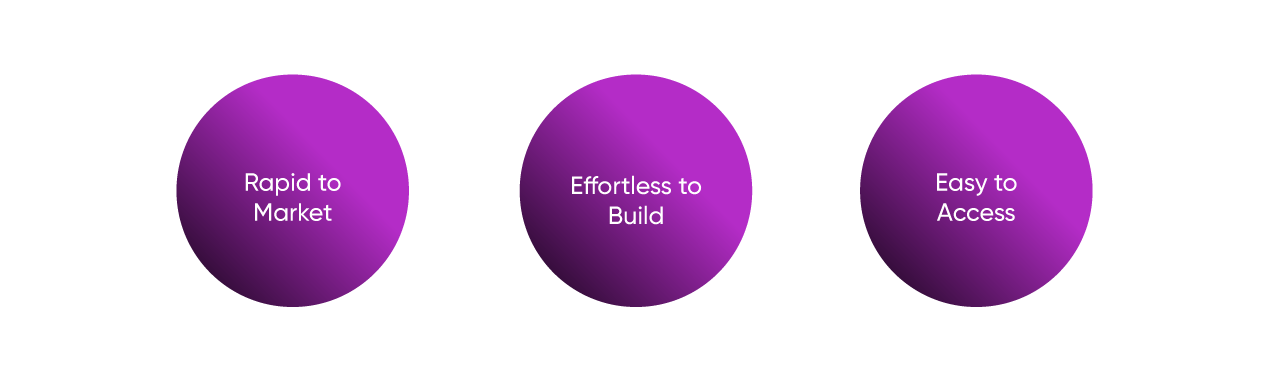
If you have the itch to build your integration with Gradient, you have come to the right place. You can build your own integration rapidly, with minimal effort; best of all, it's easy to use.
Prerequisites
- Gradient API credentials
- Vendor API credentials
- Familiarity with a programming language such as PowerShell or Typescript
- Gradient Account (Register or Login Here)
- Billing/Alerts Pro Subscription, depending on the module you plan to build for
Creating a Custom Integration
Step 1: Create Integration
- Login to Gradient
- Navigate to the Integrations page
- Select the Custom button
- Choose the type of integration you want to build, and press continue.
- Alerts & Billing
- Alerts only
- Billing only
- Enter a custom integration name, vendor or distributor name, and confirm you have read and understood the Gradient API Terms & Conditions. Then press Next.
Step 2: Authenticate, Set Status, Create Accounts and Services
- After viewing the API Knowledge base, click on Generate API Tokens and copy them.
- Make your GRADIENT-TOKEN
- You will see that your status is now set to inactive. This means it is now ready to update the status and receive accounts and services.
- Update the integration status to pending.
- Create the service for the integration.
- Create the account(s)
- Press Status on the Integration page in Gradient to verify that the correct number of accounts and services are displaying. Press Next.
Step 3: Configure the Integration
- Map your account(s) and press Next
- Map your service(s) and press Next
- Review and Press Finish
- A modal will appear to confirm that the integration setup is complete, but that usage will still need to be pushed for it to display on the Billing page. Press Ok.
- The page will load to show your connected integration with no imported results.
Step 4: Sync Vendor Usage
- Use the Get Vendor call to pull the serviceId for the vendor. Copy it.
- Use Set Unit Count call.
- Paste in the serviceId, Update the accountId, and input the new unit count. Press Try It.
- Repeat for any additional counts, pressing try it each time to submit the results.
Step 5: Reconcile
- Return to Gradient, Refresh your Page, and Reconcile!
Updating a Custom Integration
Step 1:
- Login to Gradient
- Navigate to the Integrations page, scroll to locate your customer integration, and select the card.
- From here, you can update the service and account mapping, verify the connection status, and disconnect the integration.
What's Next?
Now that you understand the basics of connecting a custom integration, create a script to process your integrations automatically. Check out our Creating Custom Integration Scripts using ChatGPT.
Alternatively, you can work with our Synthesize SDK for PowerShell to help you build your integration.